How to Set Up a Secure SSH Server

Introduction
Short for Secure Shell, SSH is a protocol that lets you safely connect your computer to another machine anywhere in the world.
Why should you learn it? Simply put, SSH is the global industry standard for remote system management. Whether you're configuring a cloud server, deploying a website, or just tapping into your home computer from a local coffee shop, SSH gives you complete control over a remote terminal—securely, efficiently, and without needing a clunky graphical interface. Best of all, once you understand the basics, it’s surprisingly easy to configure.
In this tutorial, I’ll walk you through setting up your very first SSH server step-by-step on a virtual machine using only the terminal. We'll also cover essential security configurations every SSH server should have so you can start managing your devices safely from anywhere.
Step 1: Update Your Linux System
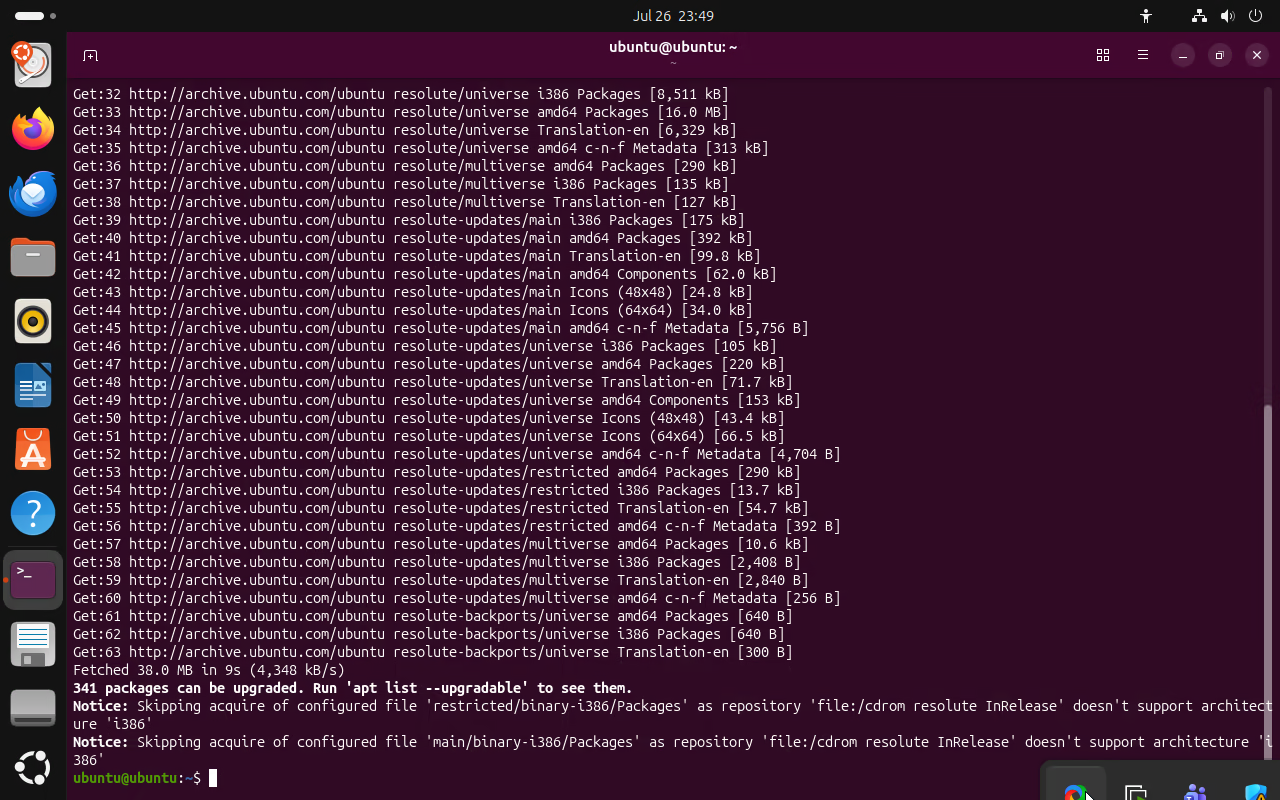
Before diving into any setup, it's highly recommended to update your system first. In this
tutorial, I’ll be using Ubuntu, so we'll use apt to update our package lists by
running:
$ sudo apt update && sudo apt upgrade -yWhy do this? Keeping your system updated minimizes the risk of attacks that exploit known security vulnerabilities in outdated software.
Step 2: Install OpenSSH Server
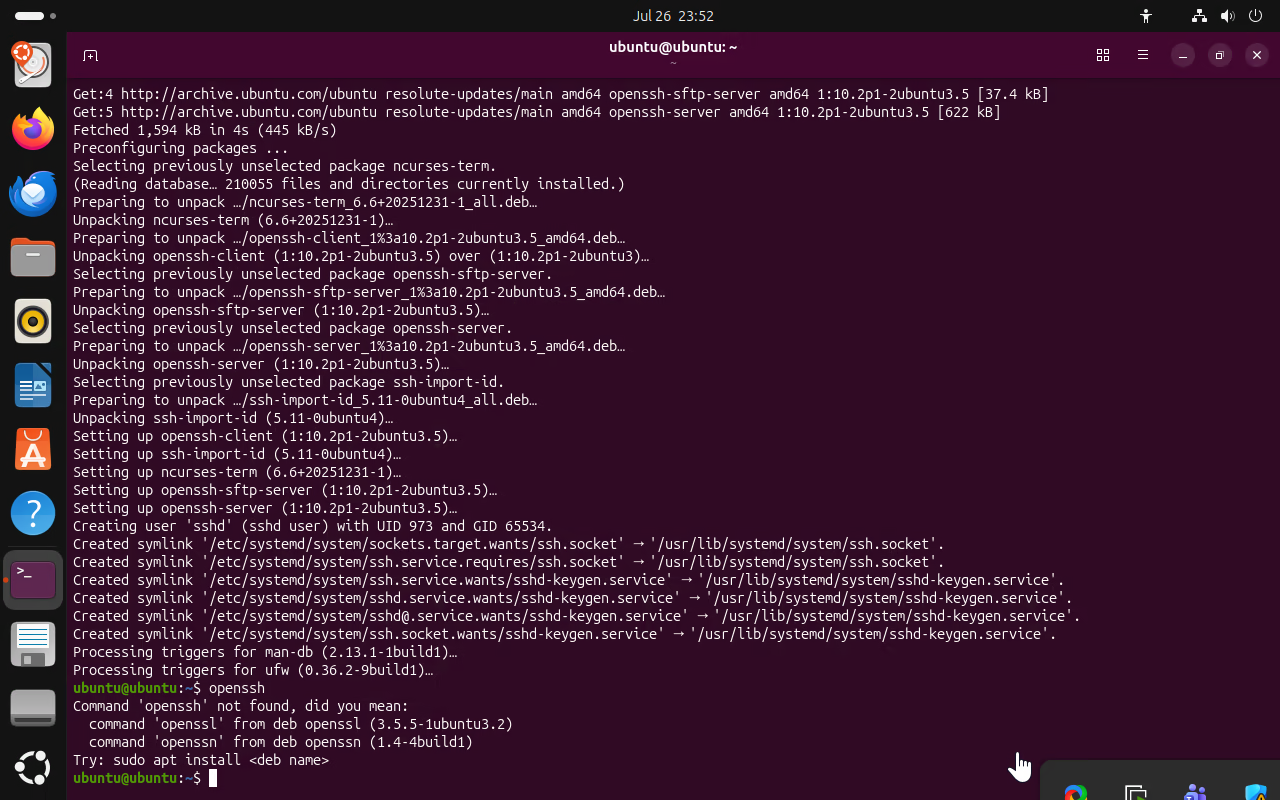
To handle incoming SSH connections, we need an SSH server package. We'll be using OpenSSH, which is reliable, secure, and easy to configure.
To install OpenSSH on Ubuntu, enter the following command:
$ sudo apt install openssh-server -yWait for the installation process to finish until your command prompt returns.
Step 3: Verify and Start the SSH Service
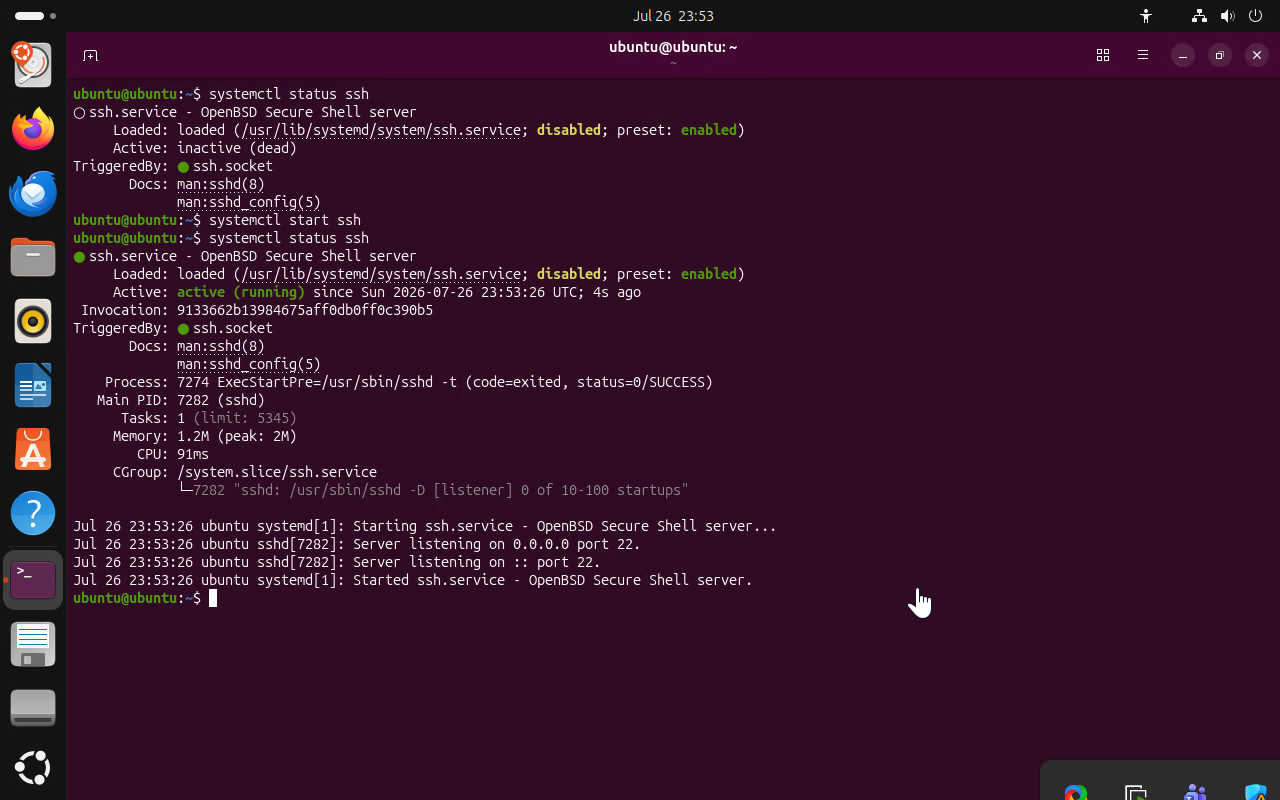
Once installed, check if the SSH service is running properly with this command:
$ sudo systemctl status sshIf the status shows as inactive or dead, start the service for the first time by running:
$ sudo systemctl start ssh
Once the output shows active (running) in green text, you're ready for the next
step!
Step 4: Configure Basic SSH Security
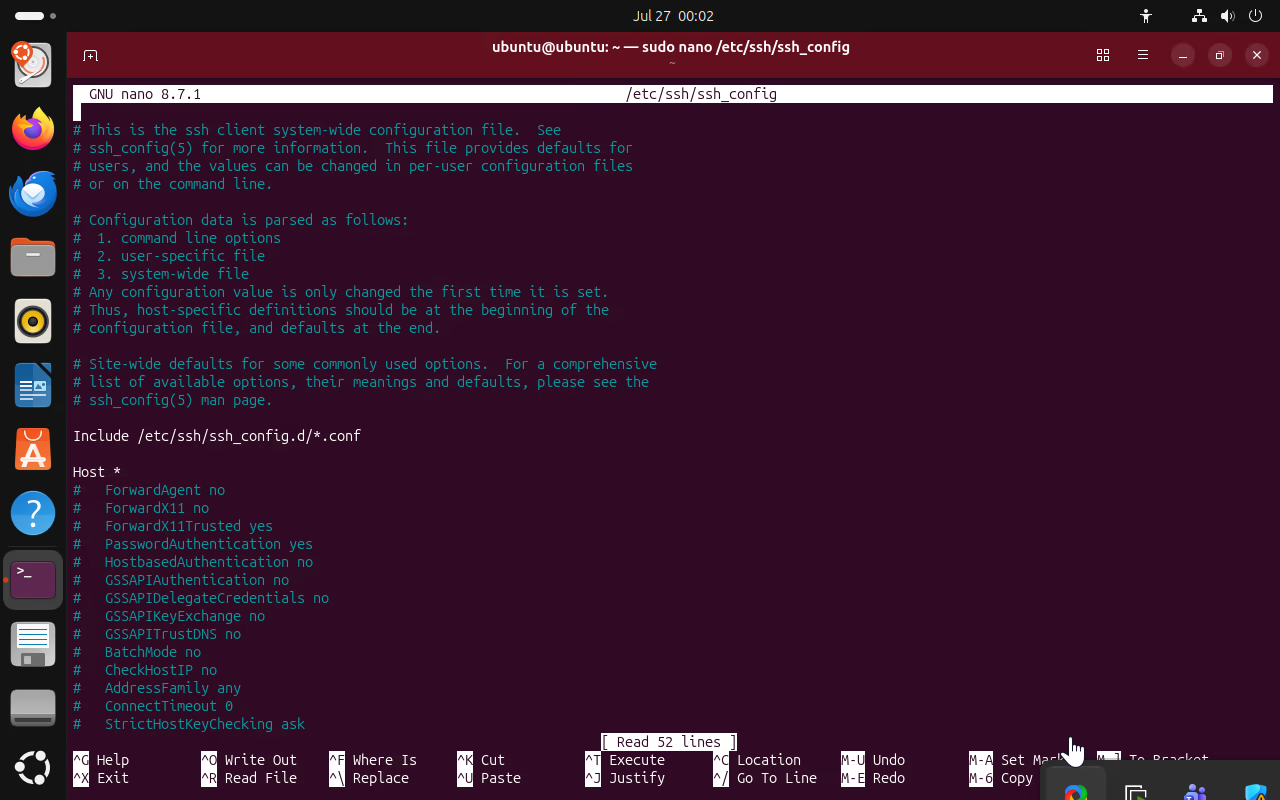
Now for the fun part: configuration. While we won't cover advanced enterprise security here, we will apply the essential baseline settings every SSH server needs.
To edit the SSH server configuration file, open Nano terminal editor:
$ sudo nano /etc/ssh/sshd_config
Inside this file, you'll see many lines starting with a # (which means they are
commented out). Find the following directives, uncomment them by removing the #,
and set their values as shown below:
PermitRootLogin no
PermitEmptyPasswords no
MaxAuthTries 3
ClientAliveInterval 300
ClientAliveCountMax 2
PasswordAuthentication no
Why are these settings essential?
- PermitRootLogin no: Disables direct logins to the root account. It's much
safer to log in as a standard user and use
sudowhen elevated privileges are needed, preventing attackers from targeting the main administrator account directly. - PermitEmptyPasswords no: Ensures the server will never accept accounts that lack a password.
- MaxAuthTries 3: Limits password attempts to 3 per session to prevent brute-force attacks.
- ClientAliveInterval 300 & ClientAliveCountMax 2: If a client is idle for 5 minutes (300 seconds), the server sends a quiet check-in ping. If it goes unanswered twice, the server safely disconnects the idle user.
- PasswordAuthentication no: Disables password-based logins entirely, forcing users to authenticate using SSH keys instead.
PasswordAuthentication no until you
have successfully generated and copied your SSH public key to the server! If you disable
password logins before adding your key, you will lock yourself out of your server.
After saving the file (press Ctrl + O, then Enter, then
Ctrl + X to exit), apply the changes by restarting the SSH service:
$ sudo systemctl restart sshStep 5: Connect to Your SSH Server from the Host Machine
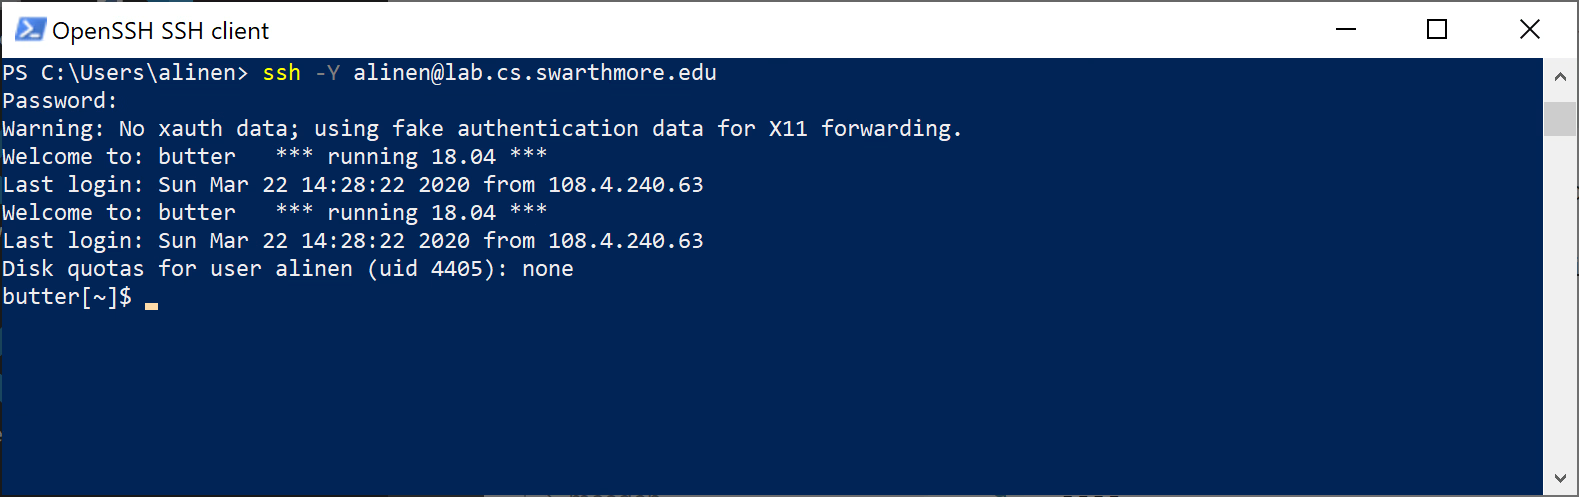
To connect to your server from another computer, you first need to know your server's IP address. Run this command on your SSH server:
$ ip a
Look for your active network interface (usually starting with eth or
enp) and find your local IP address (for example, 192.168.1.50).
Now, move to your host machine (Windows PowerShell, macOS Terminal, or another Linux terminal) and run:
$ ssh username@your_server_ip
(Replace username with your Ubuntu user account name and
your_server_ip with the IP address you found above.)
If this is your first time connecting, type yes when prompted to accept the host
key, enter your account password, and voilà! You are now remotely connected to your own secure
SSH server.